
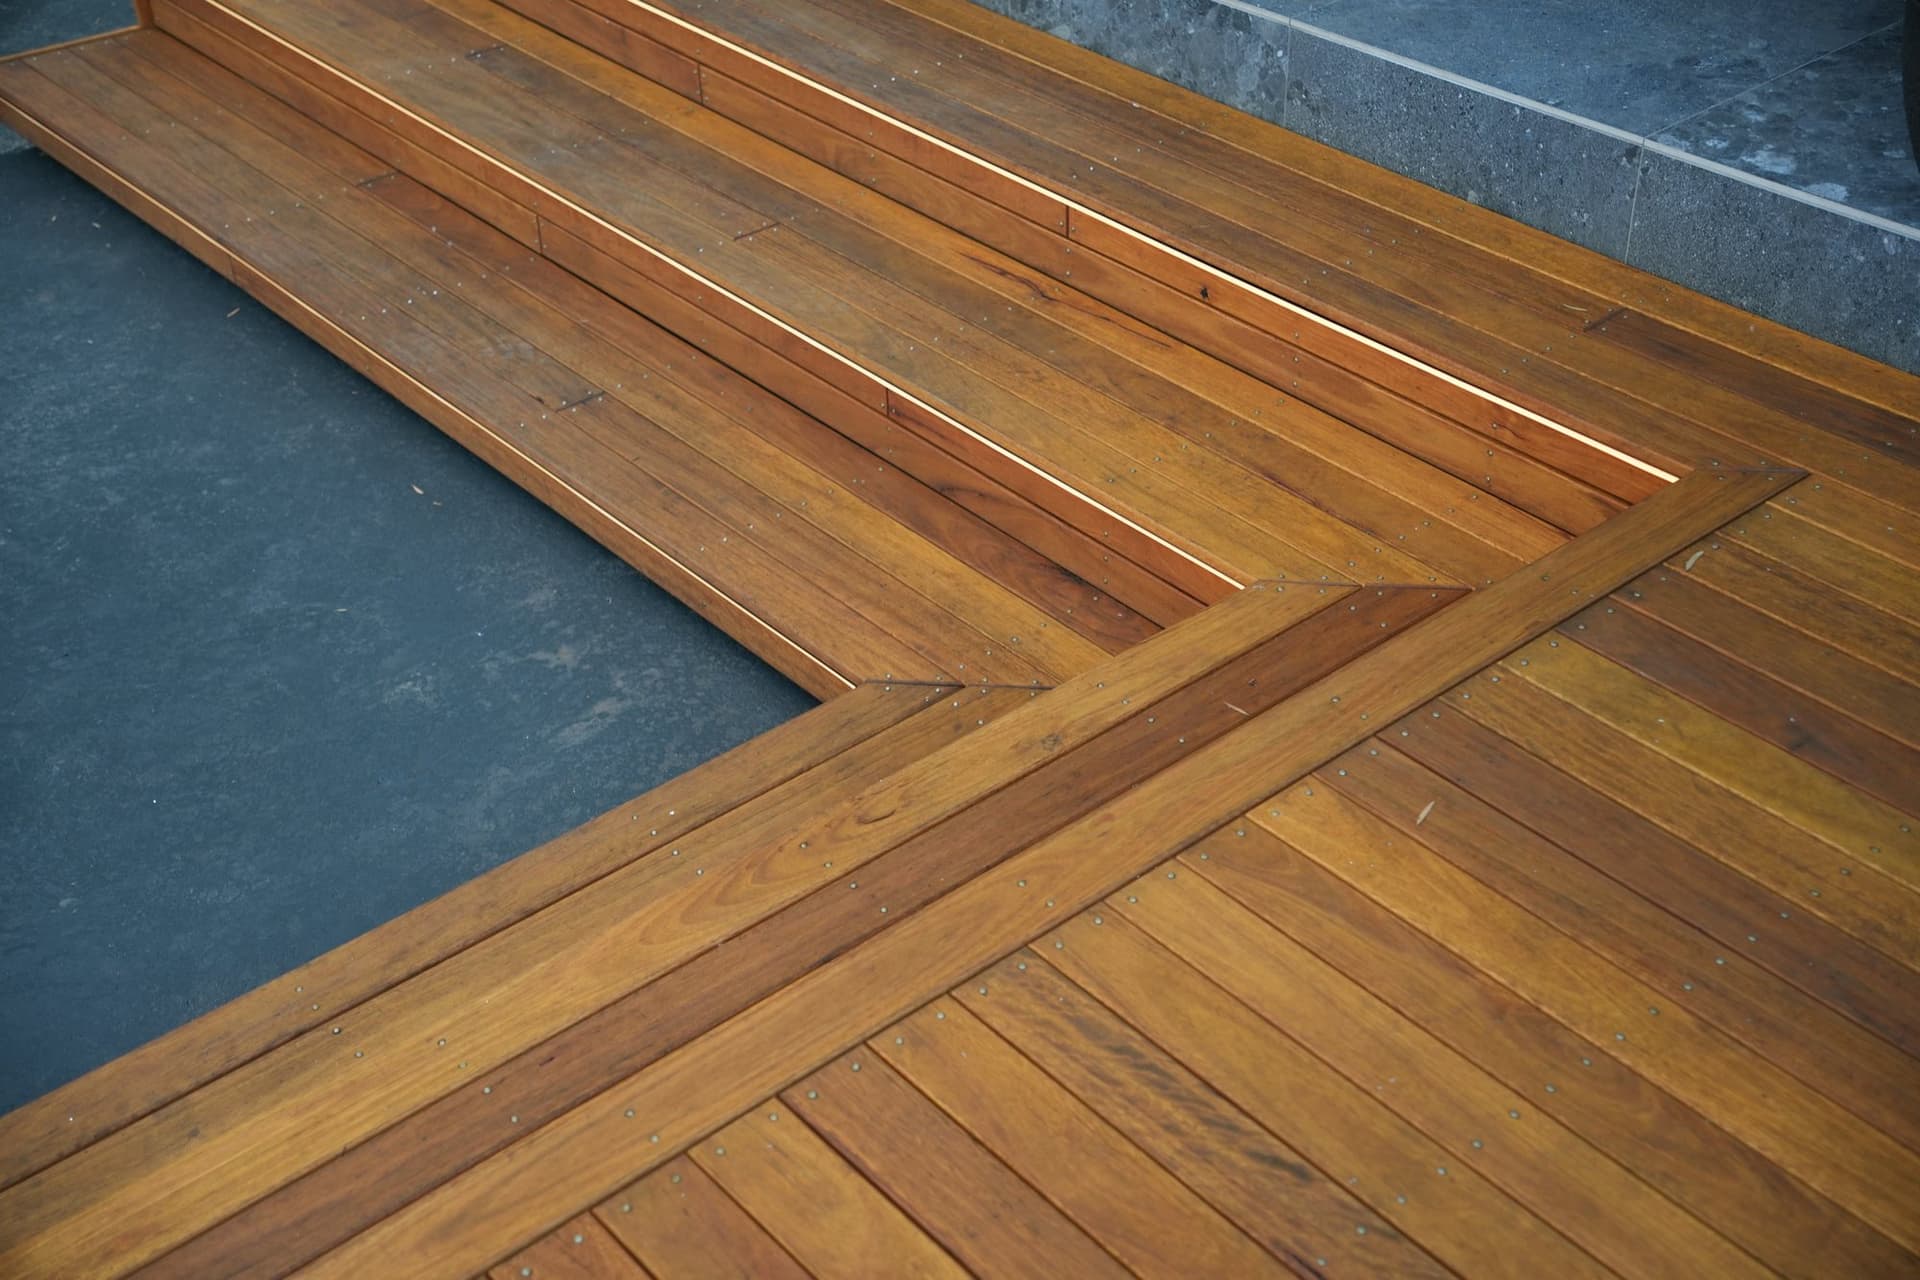
The decking guide
Everything we get asked
before a deck build.
Most deck problems are decided before a single board goes down — in the timber choice, the frame, the fixings and the approvals. This page is the conversation James has with every client, written down. No jargon, no scare tactics: just what matters, and why the cheap version fails.

The first fork
Hardwood or composite?
Honest answer: it depends how you want to live with it. If you’re house-proud and happy to oil the timber to keep it at its best — hardwood is beautiful, ages with character and stays cooler underfoot. If you want set-and-forget — composite holds its colour and gets hosed instead of oiled. We build both, and we’ll tell you straight which suits your job.
| Hardwood | Composite | |
|---|---|---|
| Look & feel | Real timber grain; silvers if left, glows when oiled | Uniform colour that stays put, year after year |
| Maintenance | Oiling on a regular cycle to keep the colour | Hose it. That’s the list |
| Underfoot in summer | Stays cooler in full sun | Darker boards run warmer in direct sun |
| Repairs | Boards sand back and refinish | Damaged boards get replaced, not repaired |
| Cost | Depends on species, board profile and the job — quoted properly, not guessed. Ask us for both numbers on your deck. | |
The brands you’ll see in our quotes
Real products. Real suppliers.
These are the composite boards and roofing systems that cover most of the Australian market. We can build in any of them — and when we quote your job, these are the names on the paper.

ModWood
Australian-made composite, built in Melbourne.

Ekodeck
Eco-focused composite, widely stocked.

Trex
The world's biggest composite decking brand.

NewTechWood
Capped composite in a wide colour range.

Futurewood
Recycled composite timber, Australian supplier.

Stratco
Pergolas, Cooldek insulated panels & polycarb roofing.
Timbers we work with
Pick the board for the life it’ll live.
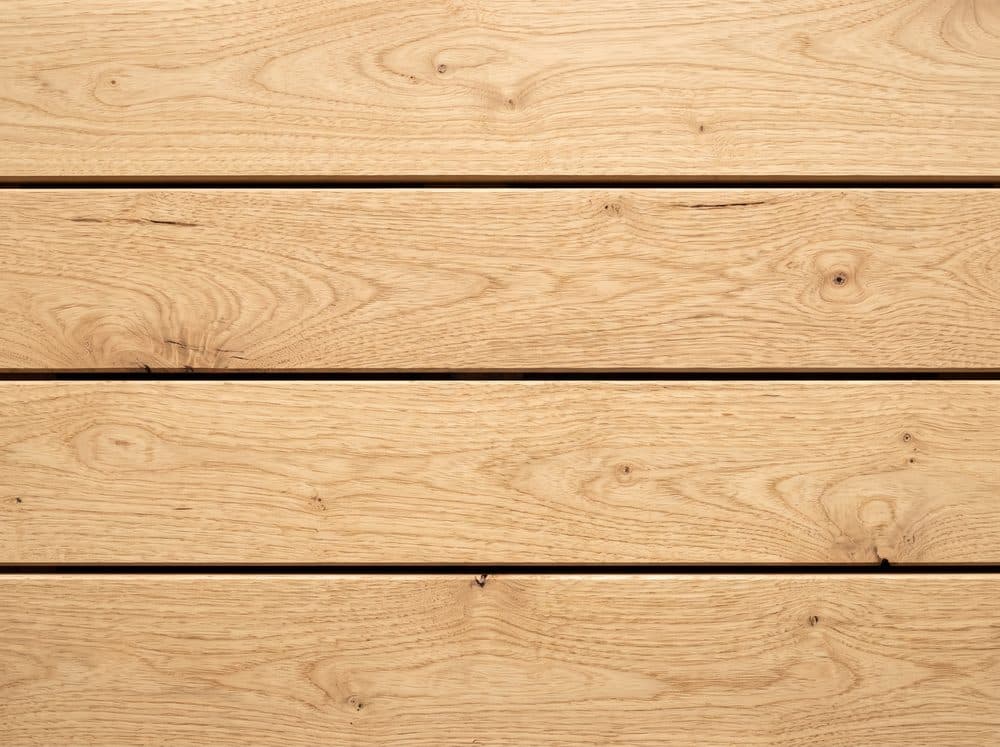
Blackbutt
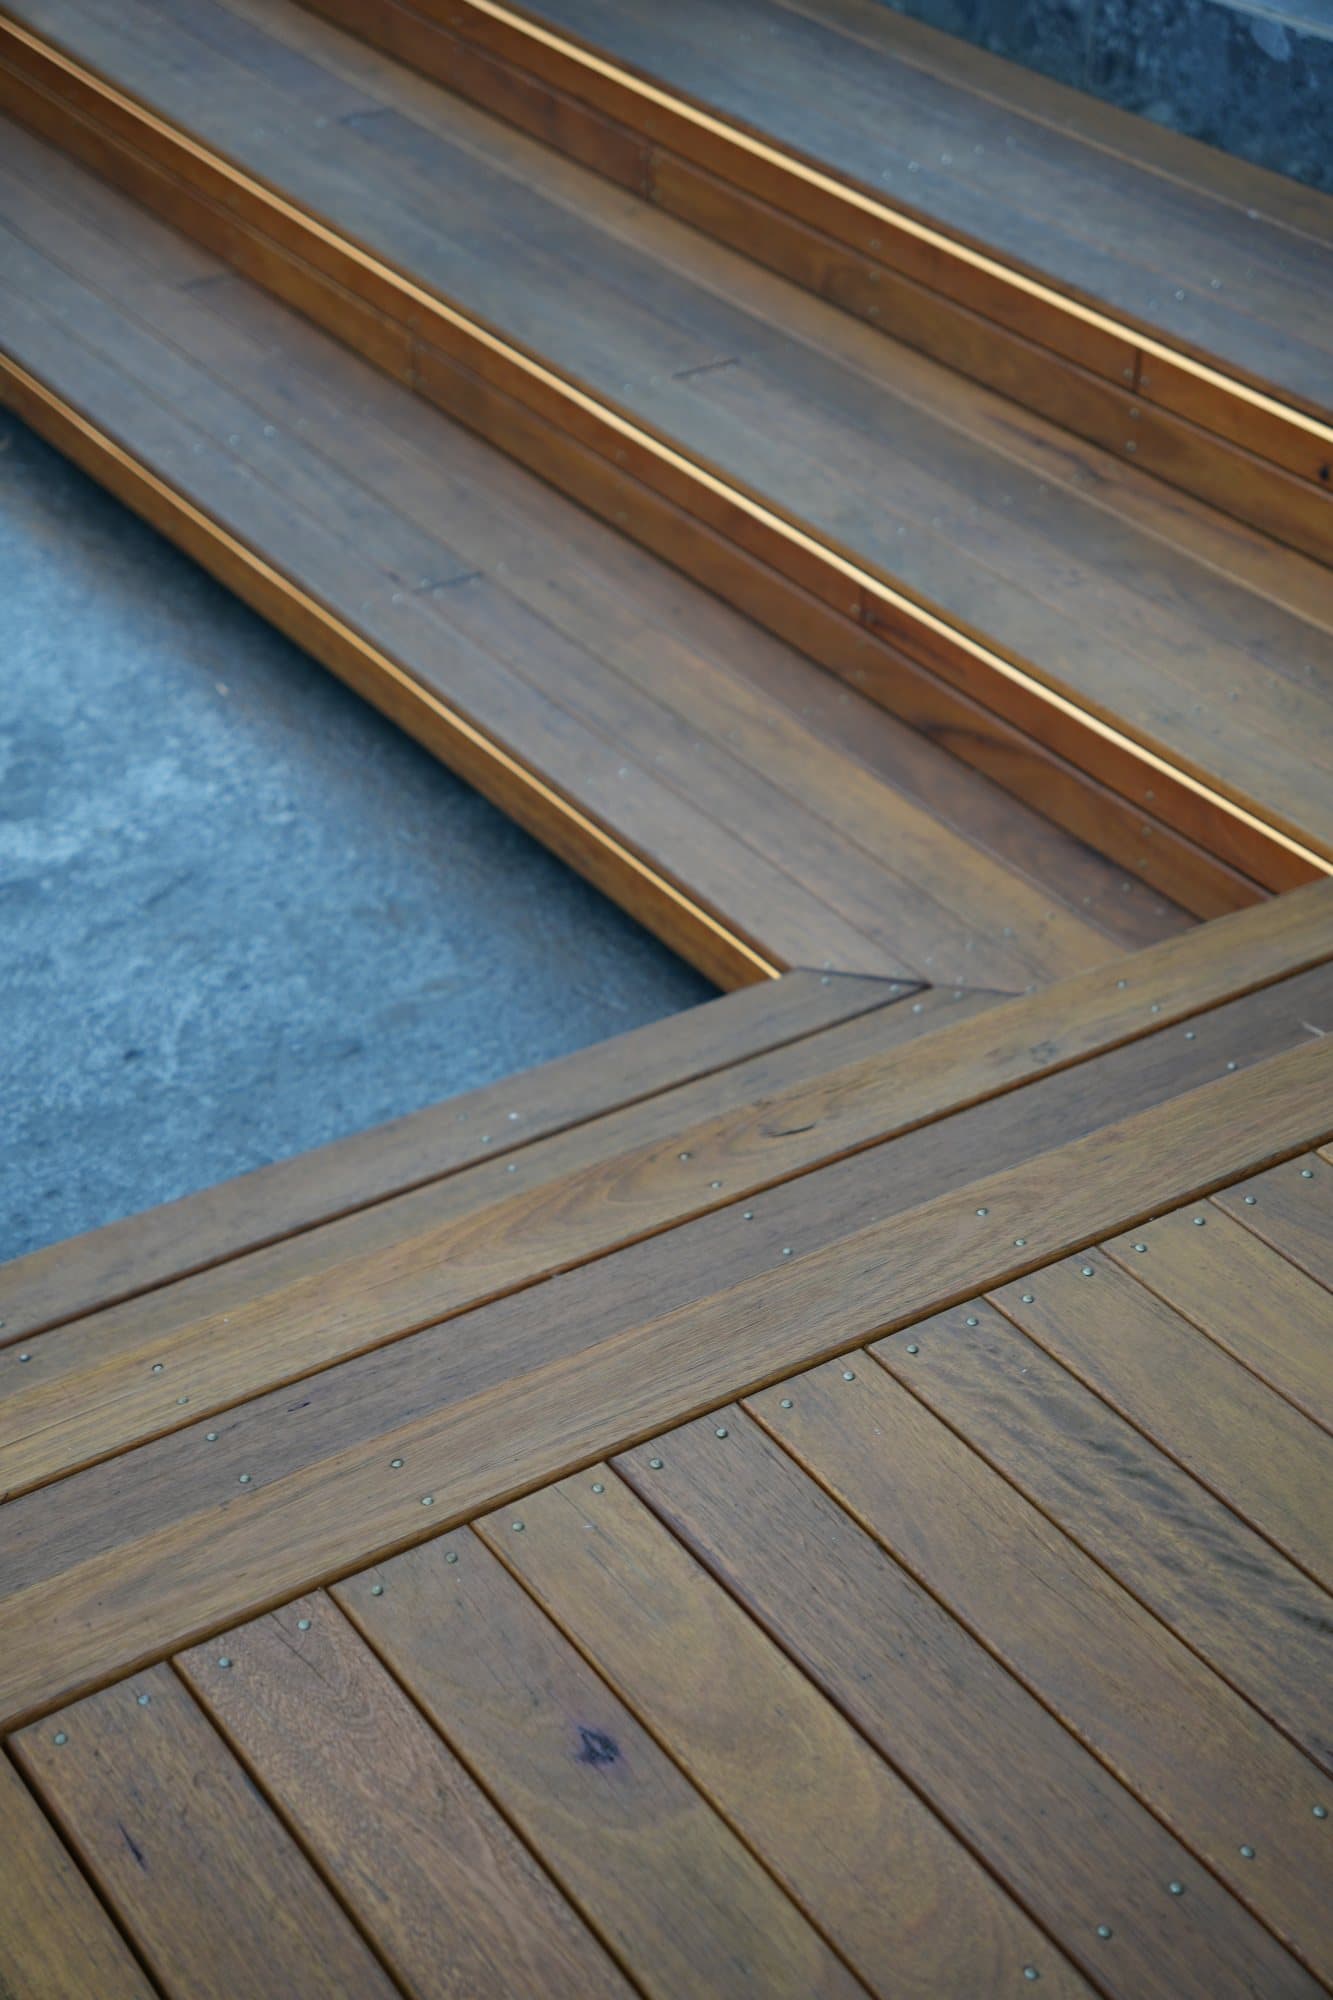
The local favourite — pale honey tones, hard-wearing, takes oil beautifully. What we used on the staircase and deck builds on this site.
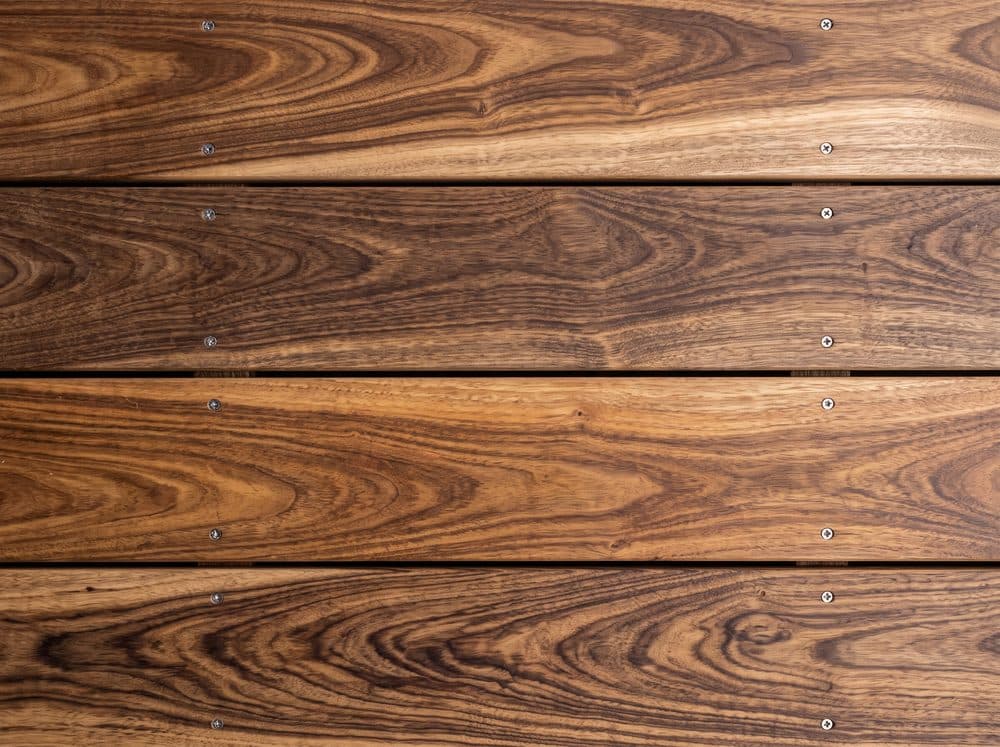
Spotted gum
Rich colour variation and one of the most durable Australian hardwoods. Handles coastal weather well.
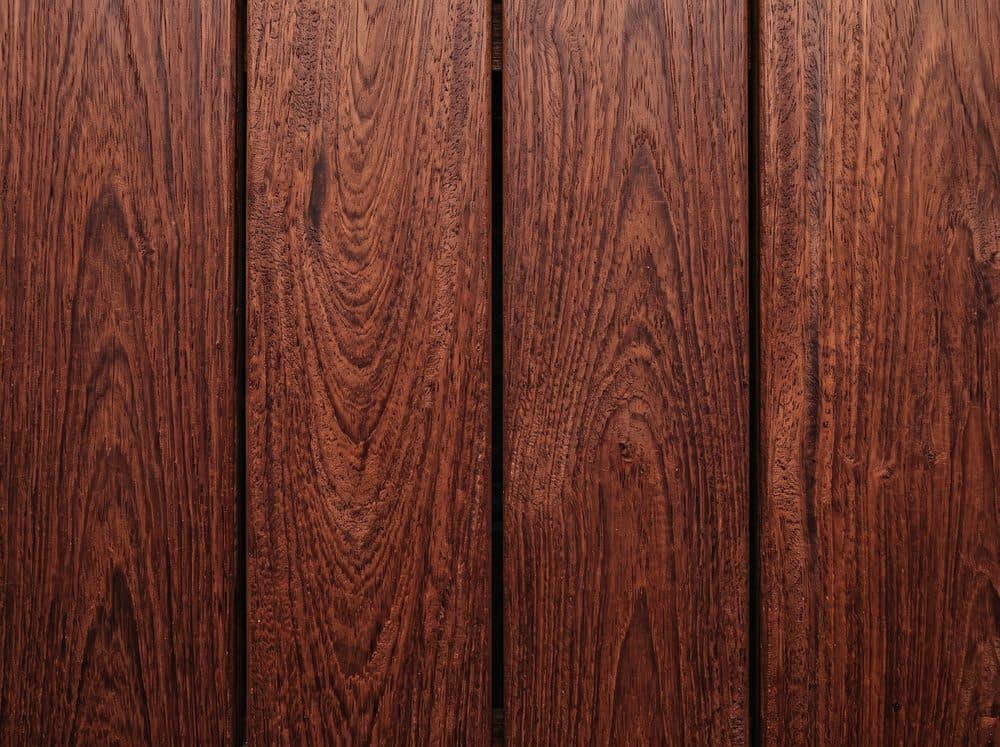
Merbau
The workhorse — dense, stable and cost-effective. Bleeds tannin early on, so it needs the right prep near light surfaces.
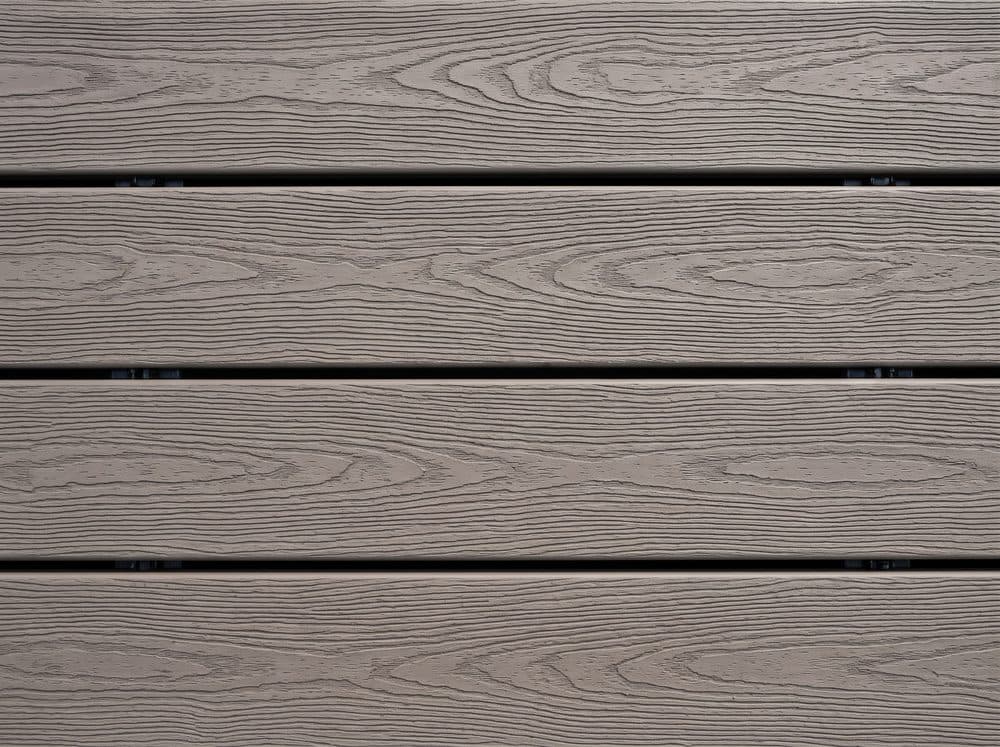
Composite
Engineered boards that hold their colour and never need oiling. Warmer underfoot in full sun and the look divides people — we'll show you both in person.
Board images indicative — colours vary board to board; we bring real samples to the quote.
Board widths
Same deck. Very different look.
Board width changes the whole feel of a deck — the number of lines you see, how traditional or modern it reads, and how the timber behaves. These are the standard widths, shown at true relative scale.
64mm shown to scale
64mm — traditional narrow
The old-school look: lots of fine lines, heaps of fixings, very forgiving on movement. Suits heritage homes and tight curves.
86mm shown to scale
86mm — the hardwood classic
The most common hardwood board in Australia, and JTR's usual pick — the deck on this site is 86mm blackbutt. The balanced middle: classic look, stable, sensible to fix.
135mm shown to scale
135mm — wide hardwood
Fewer lines, more grain on show, faster to lay. Wider timber moves more, so the frame, drainage and fixing pattern have to be right.
140mm shown to scale
140mm — the composite standard
Most modern composite ranges land here. The clean, contemporary look — wide boards, tight gaps, colour that stays put.
No right answer here either — narrow reads traditional, wide reads modern, and the board has to suit the frame underneath it. James brings sample boards to the quote so you can see the widths on your own deck, in your own light.
The part you’ll never see
What’s under your deck decides how long it lasts.
Two decks can look identical on handover day. Ten years later, one is solid and one is soft underfoot. The difference was never the boards — it’s everything below them.
- 01
H3 vs H4 treated pine
Treated pine comes in hazard classes. H3 is rated for exposed use above ground. H4 is rated for ground contact. A deck frame close to the ground built from H3 is the classic shortcut — it can rot from underneath while the boards on top still look perfect. Close to the ground, we frame in H4. Every time. The product we reach for: eXtreme Joist H4 by ITI Australia.
- 02
Joist protection tape
Every screw or nail hole in a joist is a path for water. Taping the joist tops seals each fixing as it goes in — it's cheap insurance that adds years to the frame. You'll never see it once the boards are down, which is exactly why some builders skip it. The one we use: Trex Protect joist tape.
- 03
Moisture barrier & airflow
On low decks we lay builders plastic beneath and keep the airflow moving under the boards. Trapped moisture is what cups boards and rusts fixings — the space under your deck matters as much as the surface.
- 04
Footings
If the structure sits on undersized or shallow footings, the deck moves — and every mitred join you paid for opens up. Footings are where cheap quotes save their money. It's the wrong place to save it.
Fixings
How the boards go down changes everything.
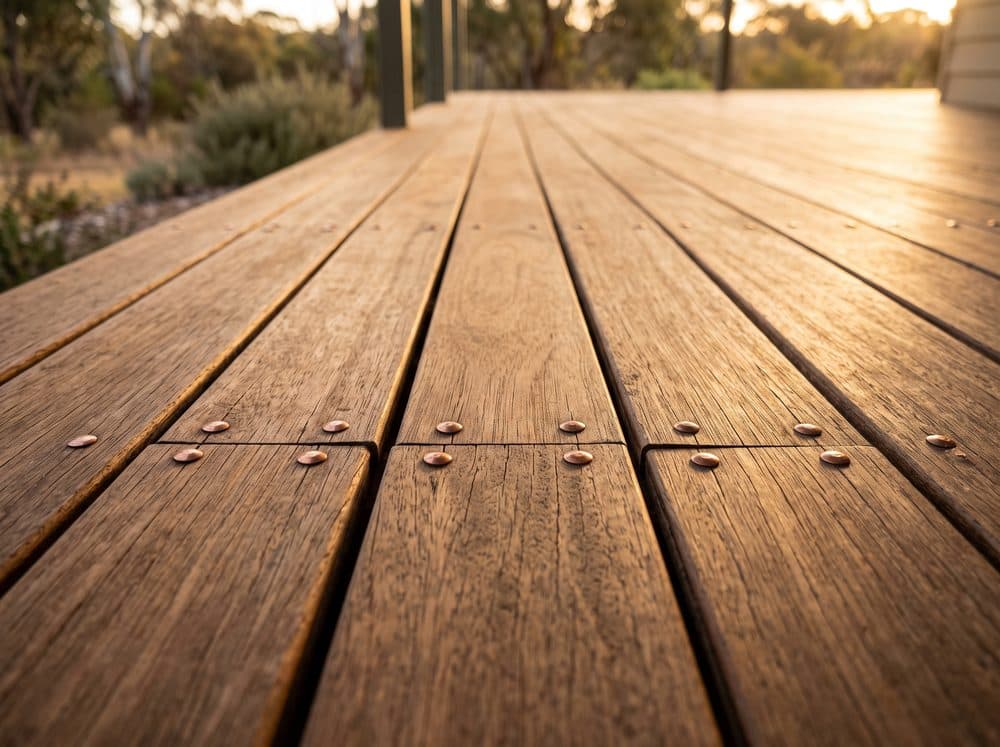
Hand-nailed
The traditional finish — domed heads in neat rows. Slow, honest work (James has hand-nailed an entire deck because the client wanted it). Chosen for looks on heritage-style builds.
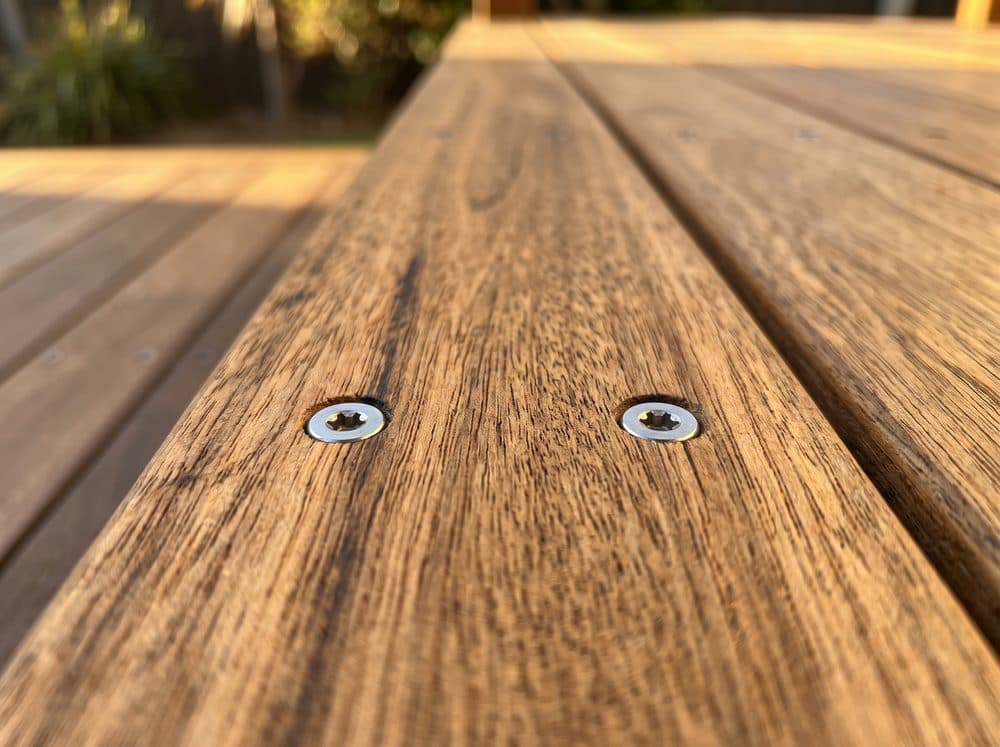
Top-screwed, stainless
The reliable standard. Stainless screws won't streak the timber, boards can be lifted individually later, and the fixing pattern becomes part of the look when it's laid out properly.
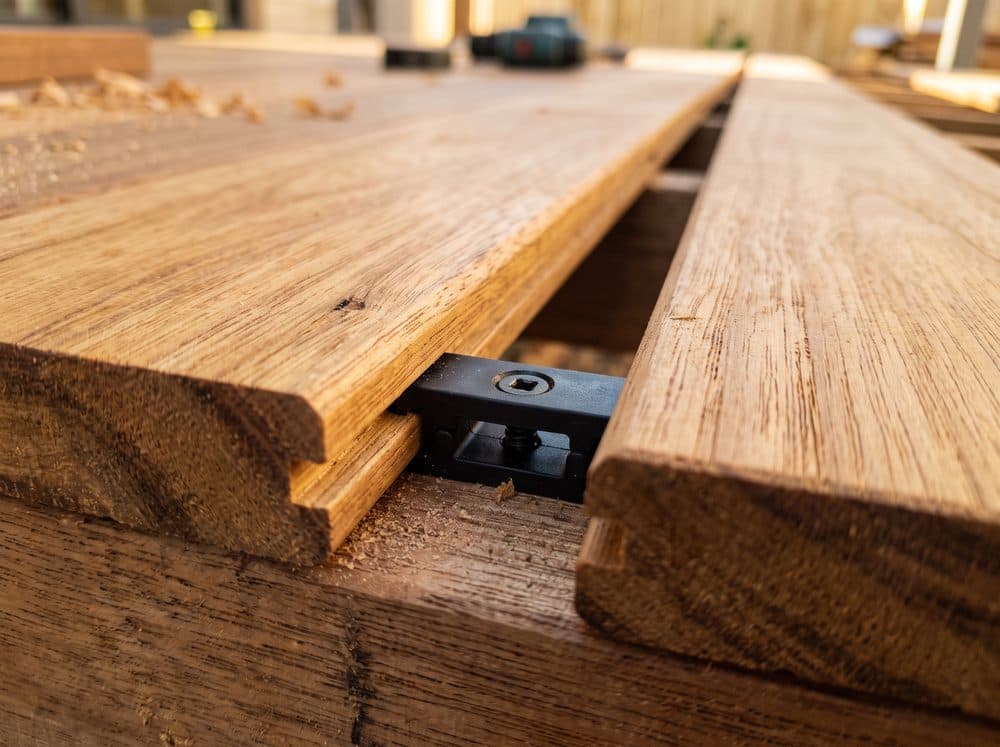
Fixing and roof images are illustrative renders — real JTR job photos replace them as we shoot them.
Going covered
A roof over the deck.
A covered deck is the difference between a summer-only deck and an all-year room. Three main ways to do it — and one rule of thumb on approvals: as a general guide, keep it under about 3 metres and behind the gutter line and it can often stay in the no-approval lane (details below) — your certifier or council always has the final say.
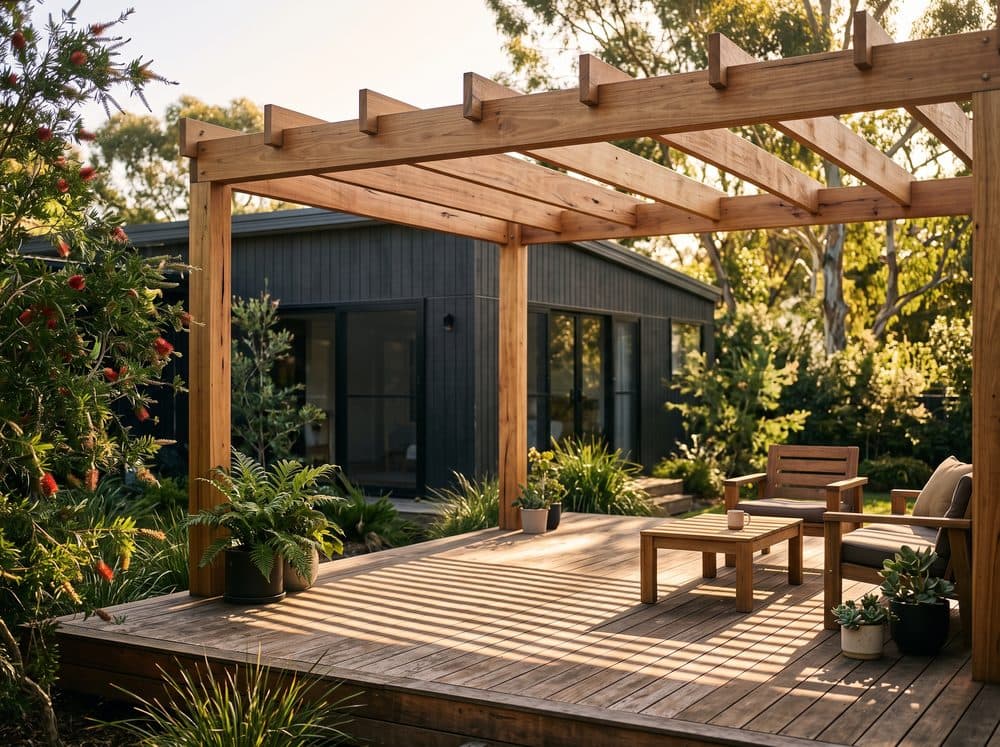
Open timber pergola
Dappled shade, vines if you want them, and the timber detail to match the deck. The most carpentry-forward option — and usually the friendliest on approvals.
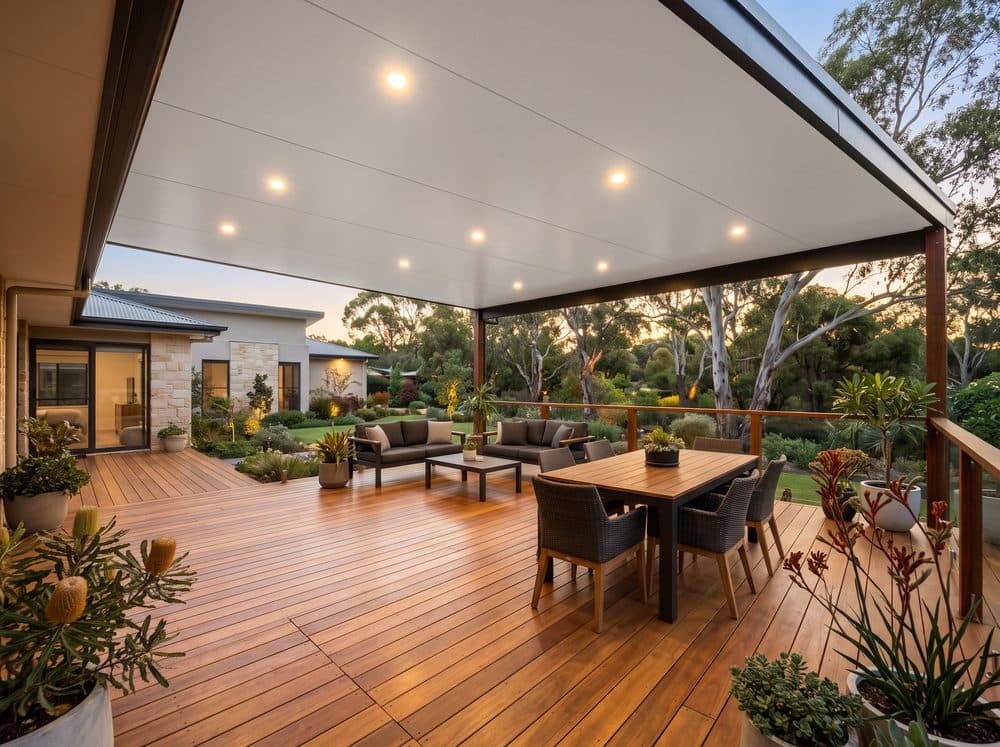
Insulated panel roof
Solid cover that cuts heat as well as rain, with clean lines and lighting built in. The pick if the deck is becoming a genuine outdoor room.
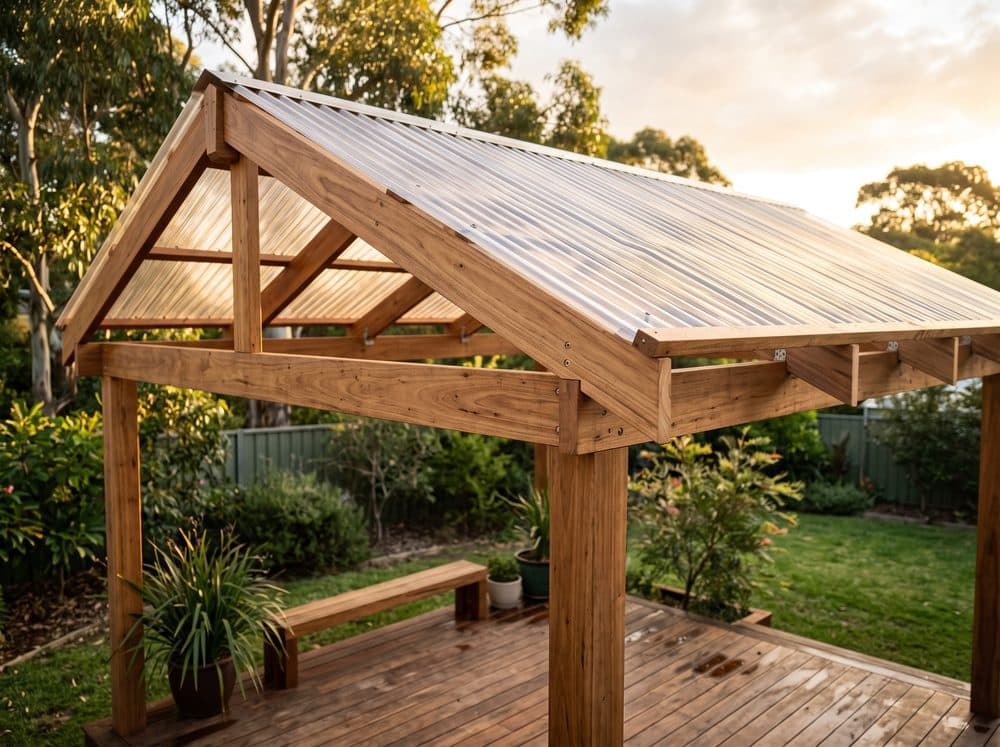
Polycarbonate / sheet roof
Weather protection that keeps the light coming through, at a lighter price point. Done well — proper falls, tidy flashing — it looks sharp, not budget.
Attached or freestanding matters too: an attached roof has to tie into the house structure and stay below the gutter line, while a freestanding pergola gives you more freedom on height and placement. Either way the frame is engineered for wind load — a roof catches a lot more weather than a deck does.
Approvals in NSW
What you can build with — and without — council approval.
In NSW there are three pathways, and which one your deck falls under mostly comes down to size and height. Treat this as a general guide — rules change and every block is different, so a certifier or council has the final say on your site.
Often no approval needed
Exempt development
Under the state rules, a deck or patio can generally be built without any approval when it’s 25 m² or less, no more than 1 m above ground level, sits behind the building line, and keeps to the boundary setbacks (900 mm in most residential zones) — with extra conditions on heritage and bushfire-prone land. Adding a roof? An unroofed pergola can generally go to 3 m high; a roofed, attached cover also caps at 3 m at its highest point and can’t extend above the house’s gutter line.
Fast-tracked approval
Complying development
Bigger or higher than the exempt limits? Many decks still qualify for a Complying Development Certificate — a private certifier signs it off against the state standards, typically much faster than a full council application.
Council application
Development application
Large, elevated or unusual decks — or constrained sites — go through a DA with your local council. Slower, but it’s the pathway that handles anything the codes don’t.
Every block is different — zoning, easements, heritage and bushfire mapping all shift the answer. Treat this as a guide, not a ruling: the official rules live on the NSW Planning Portal, and when James quotes your deck he’ll tell you exactly which pathway it falls under.

Want it done properly?
Tell James what you’re thinking and get a straight answer — on the timber, the frame, the approvals and the number.